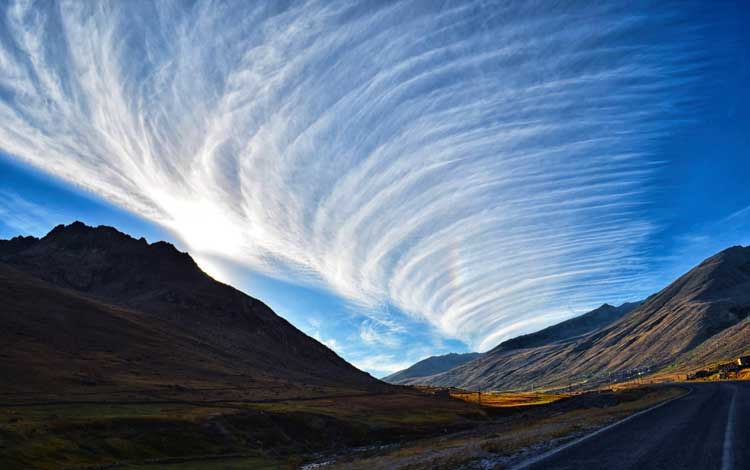
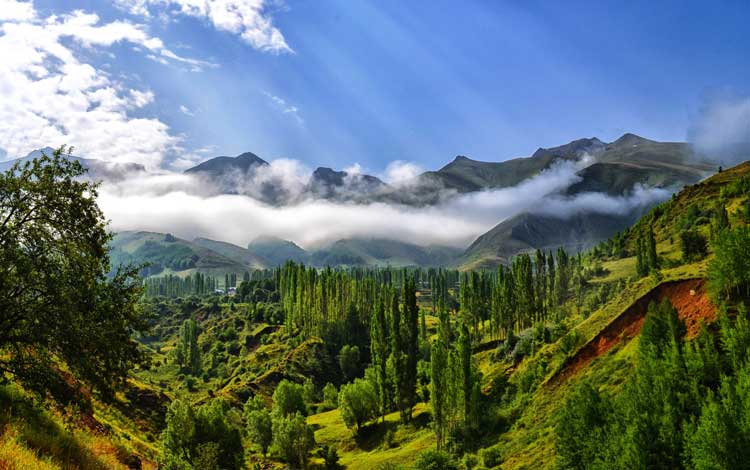
Blue sky photographs can be a beautiful and awe-inspiring way to capture the natural world. The deep blue color of the sky can provide a striking contrast to other elements in the photograph, such as trees, buildings, and people. However, taking a great blue sky photo can be a bit more challenging than simply pointing and shooting.
We will discuss tips and techniques for capturing stunning blue sky photos, from selecting the right camera settings to post-processing techniques. Whether you’re a beginner or an experienced photographer, these tips will help you take your blue sky photography to the next level.

Why are Blue Sky Photos So Impressive?
First, the color catches your eye. The deep blue color of the sky can be striking and eye-catching, especially when contrasted with other colors in the photograph.
Second, the clear blue sky add to the composition. A clear blue sky can be used as a natural backdrop for other elements in the photograph, such as trees, buildings, or people. This can create a sense of depth and scale in the photograph.
Third, the mood is calming. A blue sky can evoke feelings of tranquility, peace, and serenity, making the photograph more emotionally impactful.
Fourth, the natural beauty is inspiring. The sky is a natural and ever-changing element in the landscape, and capturing it in a photograph can showcase the beauty and majesty of nature.
Fifth, the image can be challenging. Capturing a clear and vibrant blue sky in a photograph can be a technical challenge, requiring a good understanding of camera settings and post-processing techniques. This can make the final result all the more impressive.
Sixth, the scene can be unique. A clear blue sky is not always present and in some places, it’s a rare sight which makes the photograph more special and unique.
In summary, blue sky photographs can be impressive for their combination of technical skill, natural beauty, and emotional impact. They can transport the viewer to a serene and peaceful place and be a reminder of the beauty and majesty of the natural world.

7 Tips For Blue Sky Photographs
1. Choose the Right Time of Day
he best time to take blue sky photos is during the early morning or late afternoon, when the sun is low in the sky. This will create a warm and golden light that can add a beautiful effect to your photos.
The general rule is to point your camera in the opposite direction of the rising and setting sun. In the other parts of the day, you will need the sun slightly at your back.
2. Choose the Right Lens
When it comes to capturing the stunning blue skies in your photos, the right lens can make all the difference. There are a few lenses that stand out as particularly well-suited for this task.
An ultra-wide-angle lens is perfect for capturing expansive landscapes, including those with a prominent blue sky. Its fast f/2.8 aperture allows for great low-light performance and beautiful bokeh.
This versatile lens like 24-70mm is a great choice for a wide range of shooting situations, including blue sky photos. If it has a fast f/2.8 aperture and vibration reduction technology, then it will make a great option for handheld shooting.
3. Experiment With Camera Settings
Photography is all about experimentation and finding what works for you. With a DSLR and a little bit of practice, you’ll be able to take stunning blue sky photos in no time.
Nevertheless, to achieve a deep blue sky, set your camera to manual mode and select a low aperture, like f/8 or f/11, which will give you a larger depth of field. This will make sure that both the foreground and background are in focus. It’s also important to set the ISO to its lowest setting (100 or 200) to avoid noise in the sky.
There are two options with shutter speed. You can see your camera at shutter priority and let the camera determine the shutter speed or you can adjust the shutter speed manual to get the desired results.
If there are clouds, set the shutter speed to a fast value, such as 1/1000 or 1/2000 of a second. If you’re using a tripod, you can use a slower shutter speed to create a sense of movement in the clouds.
4. Experiment With Composition
Try different compositions to make your blue sky photos stand out. For example, you can include interesting foreground elements, like trees or buildings, to create a sense of depth and scale. You can also play around with the angle of your shot to create interesting patterns and shapes in the sky.
5. Experiment With Polarizing Filters
A polarizing filter can help reduce glare and increase color saturation in the sky, making it appear more vibrant and blue.
How a polarizing filter works – a polarizing filter works by blocking certain types of light waves, specifically those that are polarized. Light can become polarized when it reflects off of a non-metallic surface, such as water or a building’s window. This polarized light can cause glare and reflections in photographs, making the image appear washed out or hazy. A polarizing filter blocks these polarized light waves, reducing glare and reflections, and making colors appear more vivid and saturated. This can be especially useful for landscape and outdoor photography, as well as for shooting through windows or around water.
6. Experiment With a Graduated Neutral Density Filter
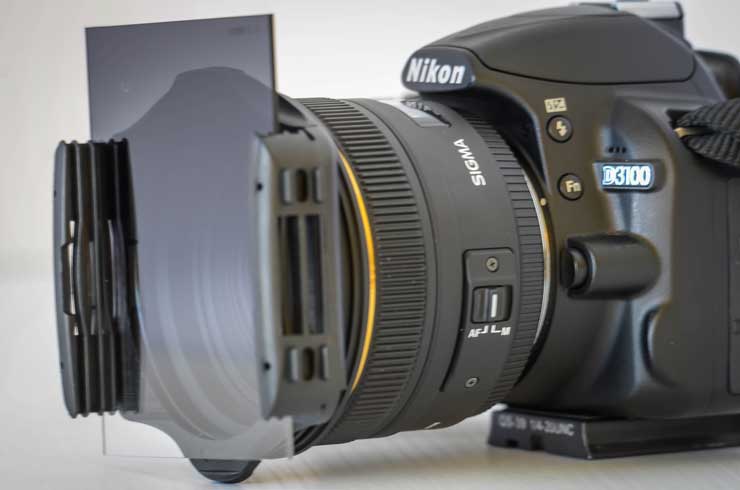
A graduated neutral density filter, often called a “graduated ND filter” or simply a “grad ND,” is a type of filter that is used in photography to balance the exposure between bright and dark areas in a scene. The filter is clear on one side and gradually transitions to a darker shade on the other side. This allows the photographer to darken the sky, for example, without affecting the exposure of the foreground. This can be particularly useful for landscape photography, where the sky is often much brighter than the ground.
The filter can be rotated to adjust the graduation line and the degree of transition. They come in different densities, like a 1-stop, 2-stop and 3-stop, which means the amount of light that it blocks.
Graduated ND filters are available in various sizes to fit different lenses. They can be either screw-on or slot-in type, depending on the filter holder system of the camera.

7. Experiment With Post-processing Techniques
After you take the photo, you can use editing software like Lightroom or Photoshop to adjust the color balance and saturation of the sky. Try using the selective color tool to increase the blue saturation in the sky while decreasing the yellow saturation.
Additionally, you can use the levels or curves tool to adjust the brightness and contrast of the sky, making it appear deeper and more vibrant.
In conclusion, just practice and experiment! As with any photography, practice and experimentation are key. Try different compositions, lighting conditions, and camera settings to find what works best for you. With a little bit of practice, you’ll be able to create stunning blue sky photos that stand out.